
The May long weekend is looming and for many people, that only means one thing — time for a new weekend project!
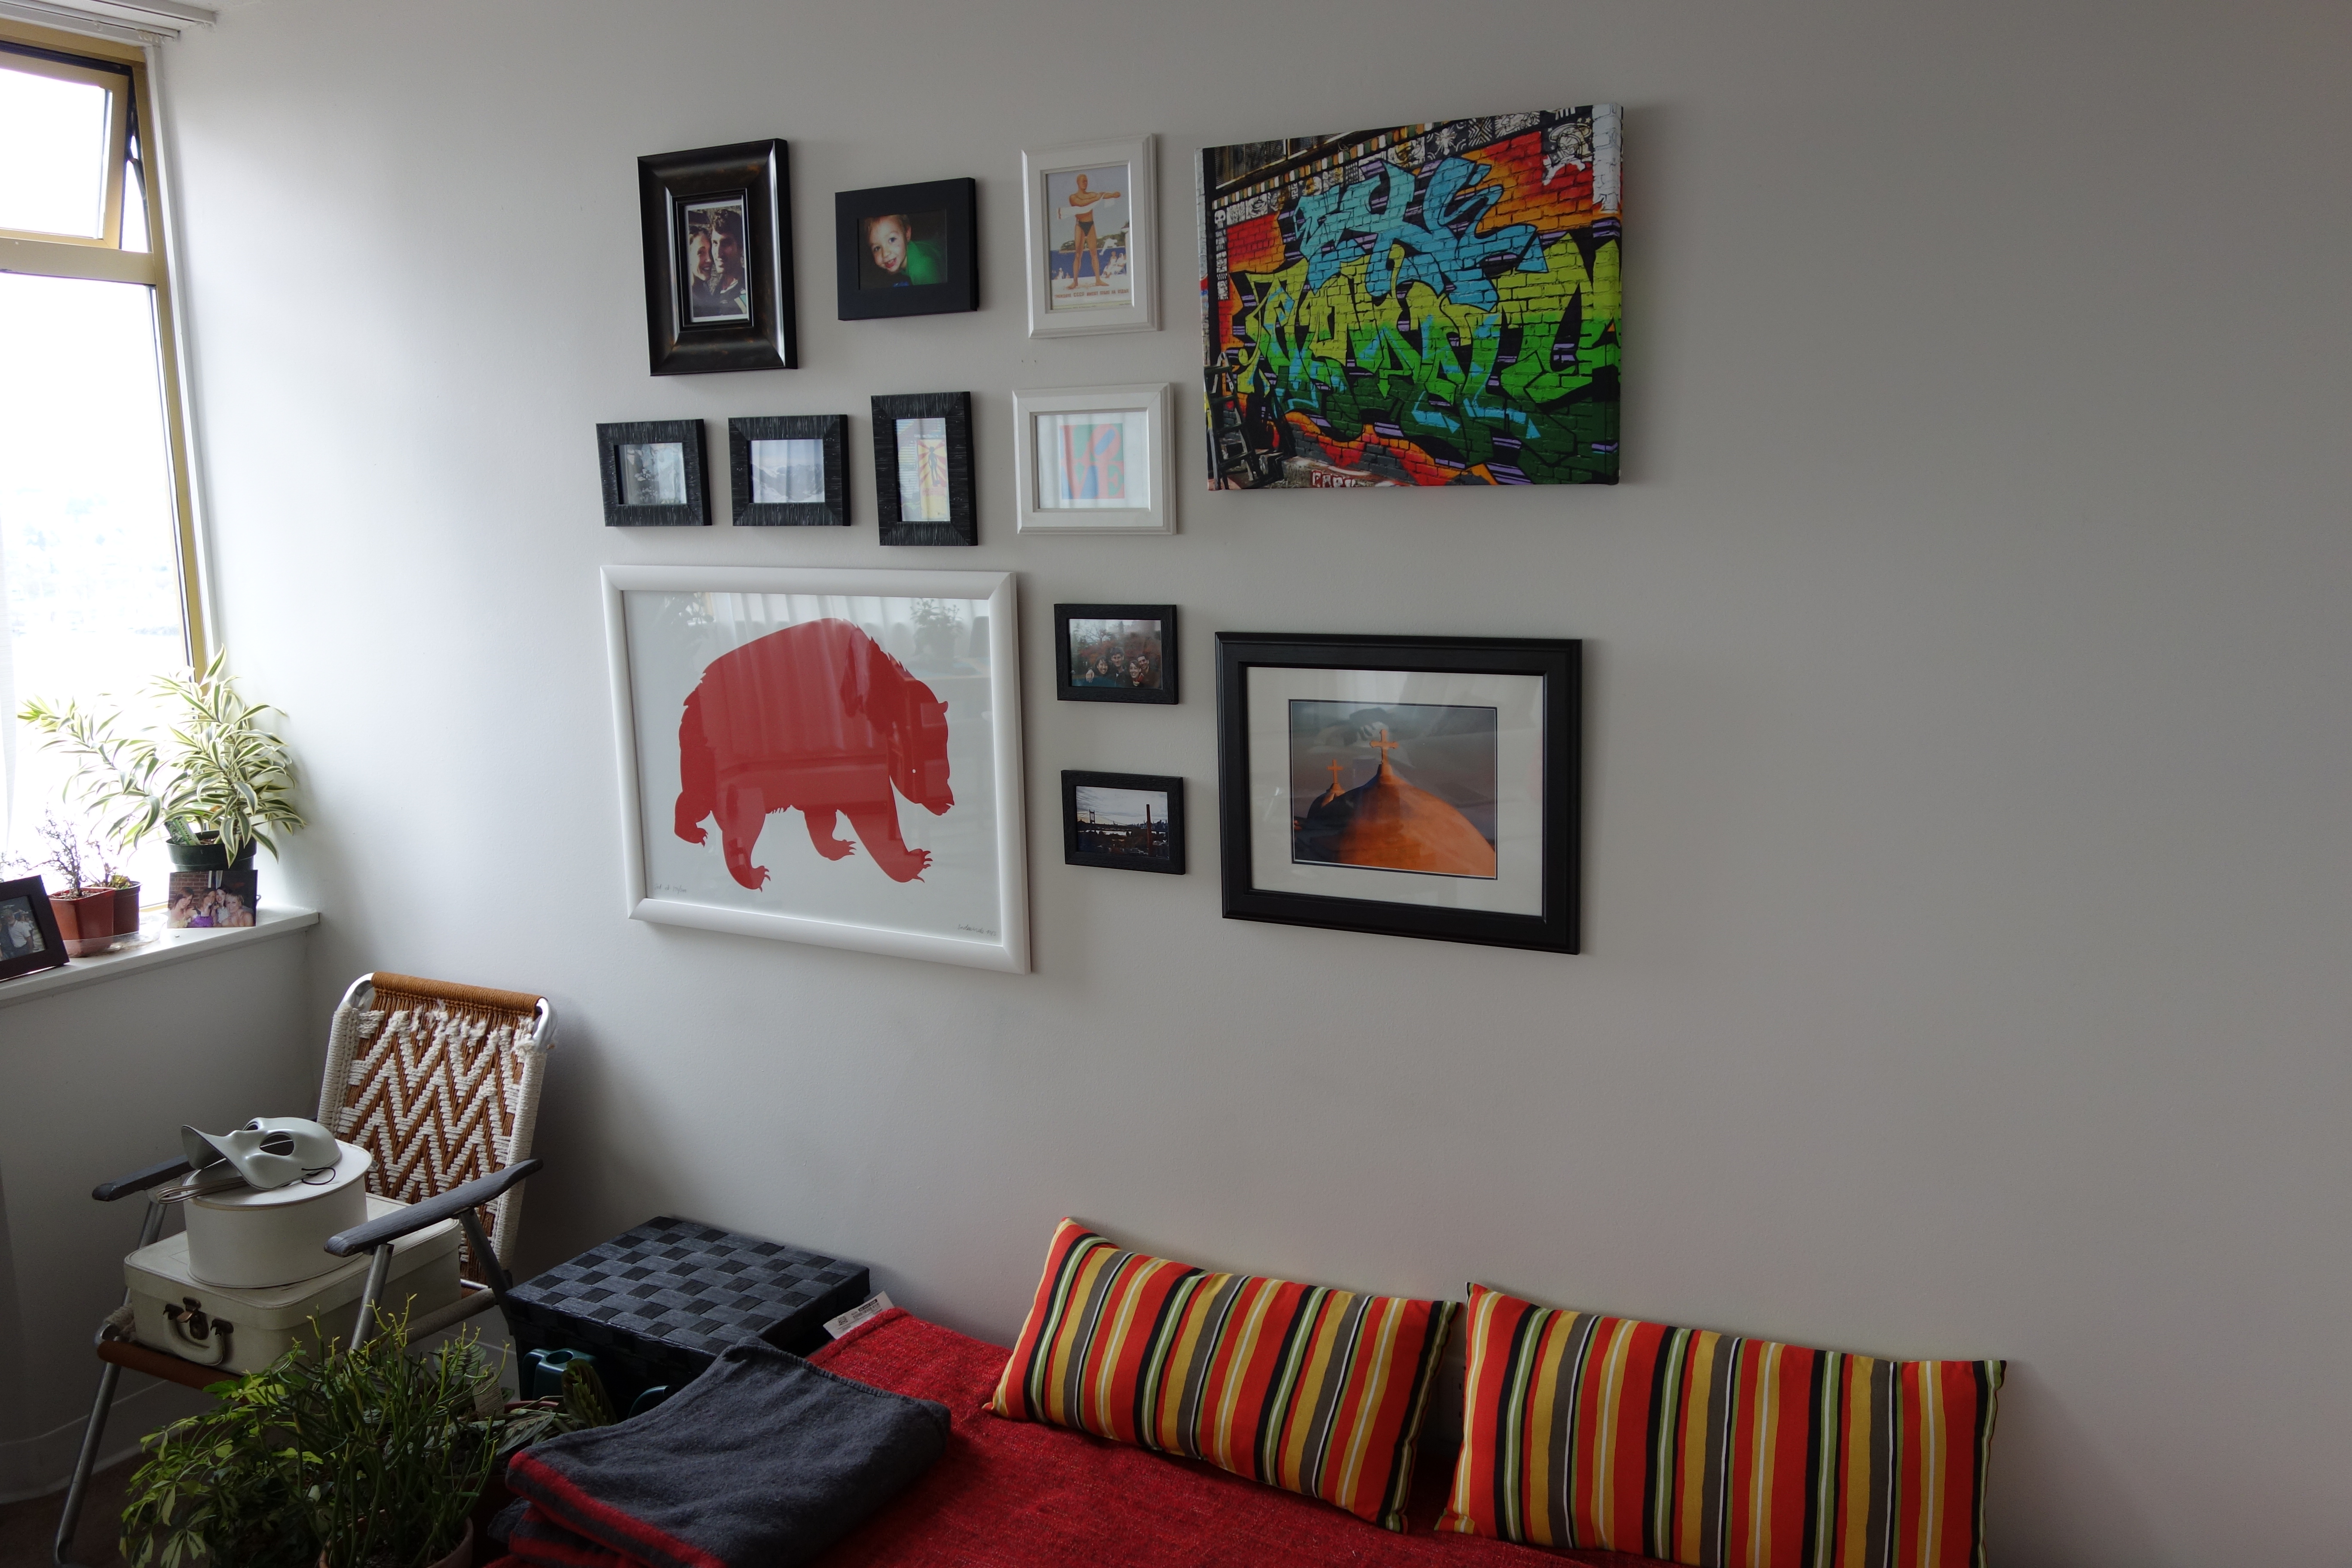
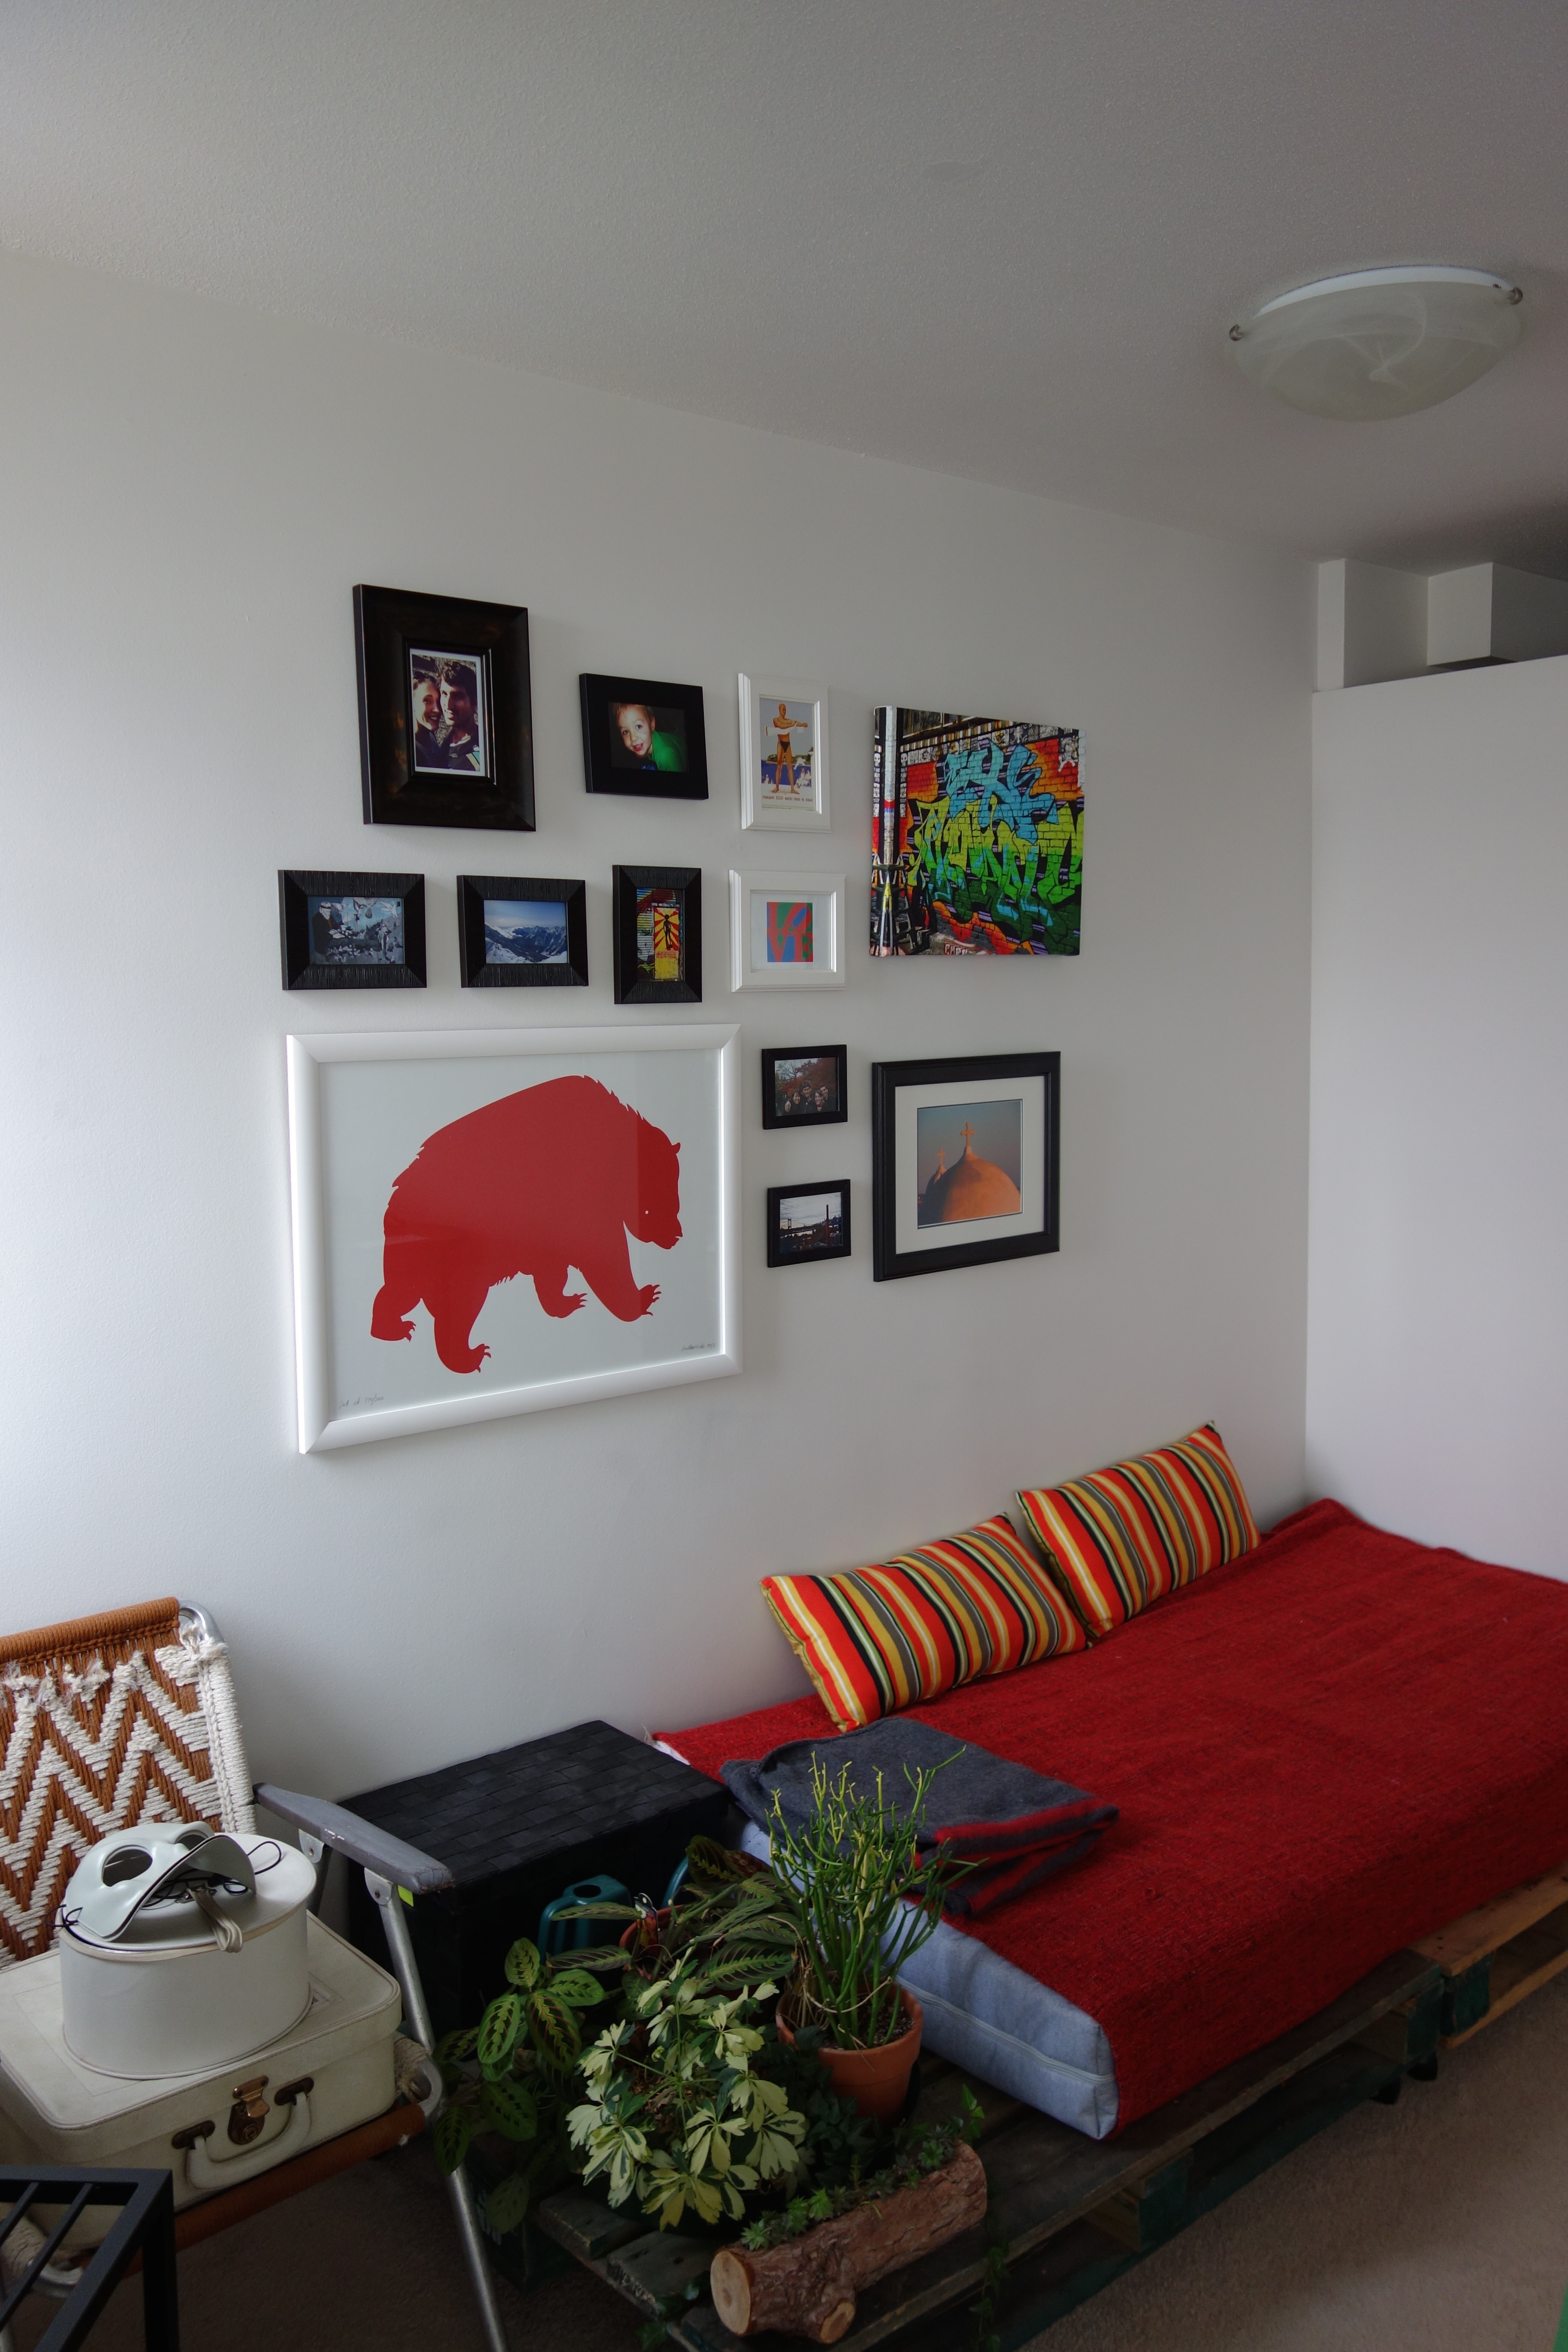
Ever since we moved into our little white and beige apartment, I’ve been trying to find ways to brighten it up a little. I’d put off creating a photo/picture wall for a few reasons. Number one — I’m indecisive! Choosing what to hang and in what configuration took a bit of contemplation and research. Number two — collecting artwork takes time. Even a year ago, I wouldn’t have had the small postcards and large print of a red bear that now grace the wall. And finally, the number three reason for hesitating — I was a bit nervous about banging a lot of holes in the walls.
But honestly, there was no need to worry! You really don’t need lots of masterpieces for a picture wall, just photos, prints, and even postcards that work together. Everything also tends to look a lot nicer once in a frame or on canvas. There’s also lots of examples on other blogs to give you inspiration — I really liked these examples from Apartment Therapy and DesignSponge.
Once I got over my indecisiveness and realized that I had enough artwork to fill a wall, it was pretty easy to get started.
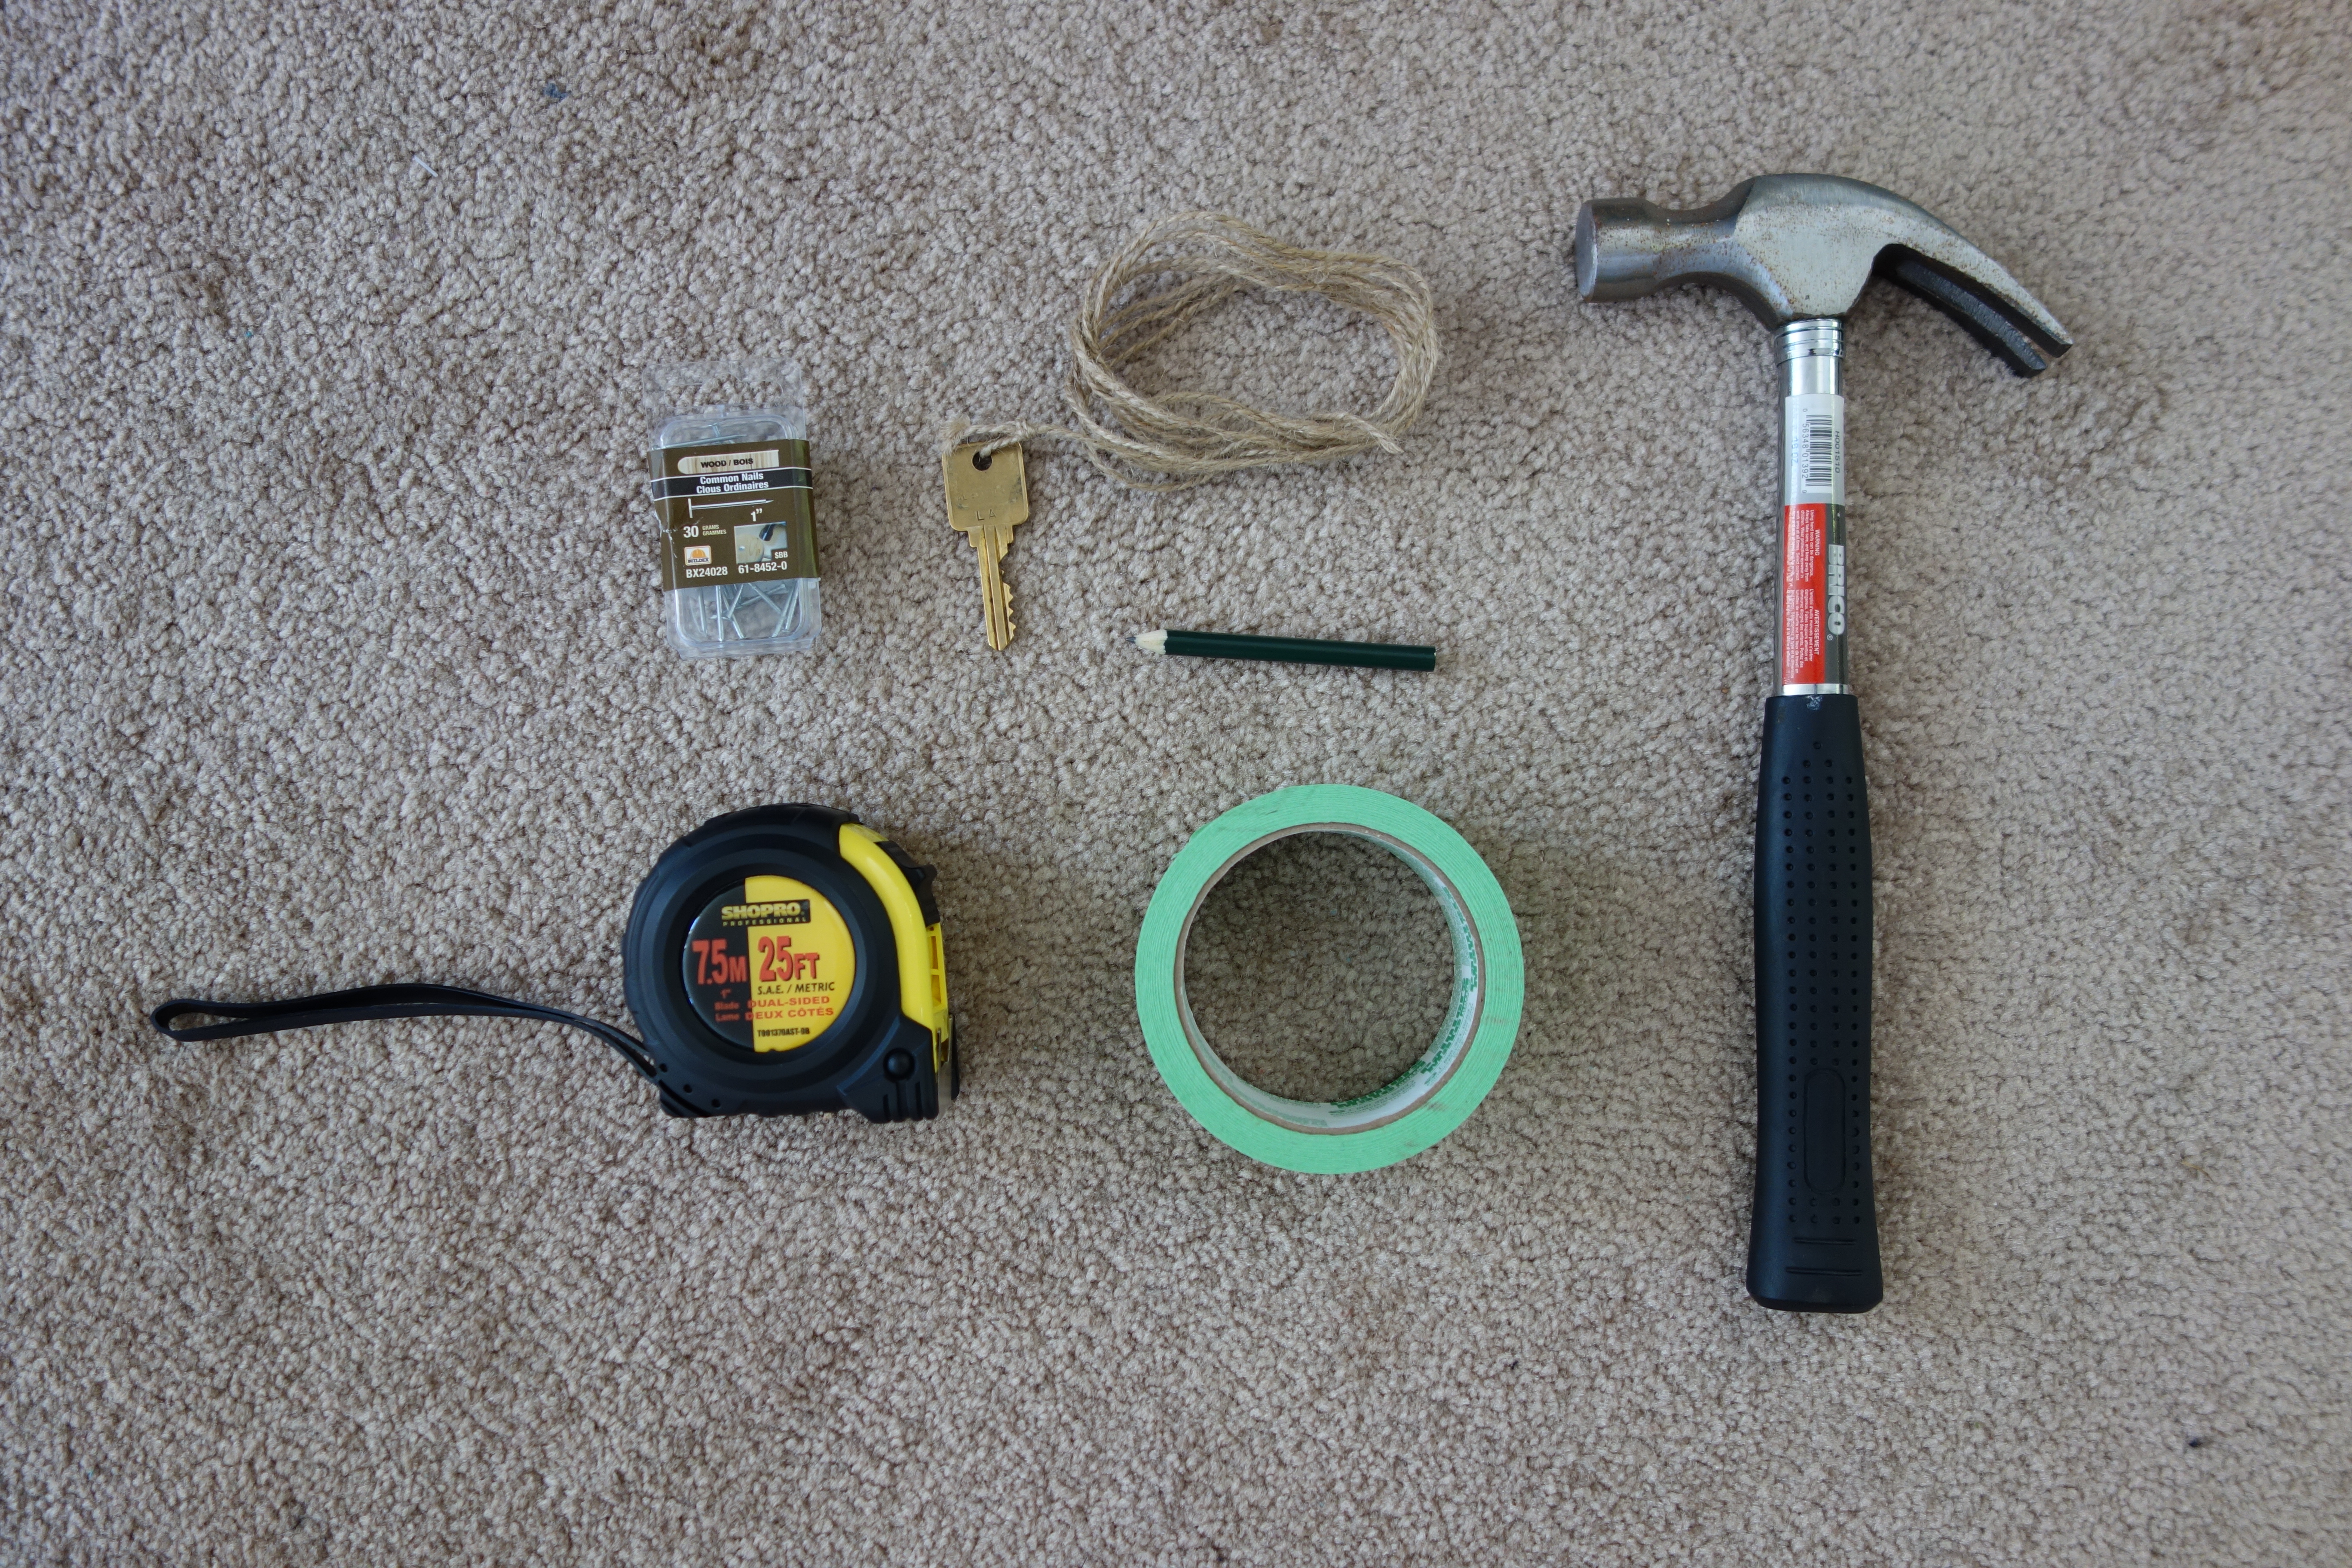
What you’ll need:
- Measuring tape
- Nails*
- Hammer*
- Tape
- Pencil
- “Plumb line” –> a weighted string will let you see if you’ve lined up pictures straight
- And/or a spirit level (optional, depending how hung up on even spacing you are)
- Artwork!
*Don’t want to put holes in your walls? I’ve also used freestanding hooks like these from 3M in the past and they’ve been fine, just check the weight of your piece before you hang it.
Method:
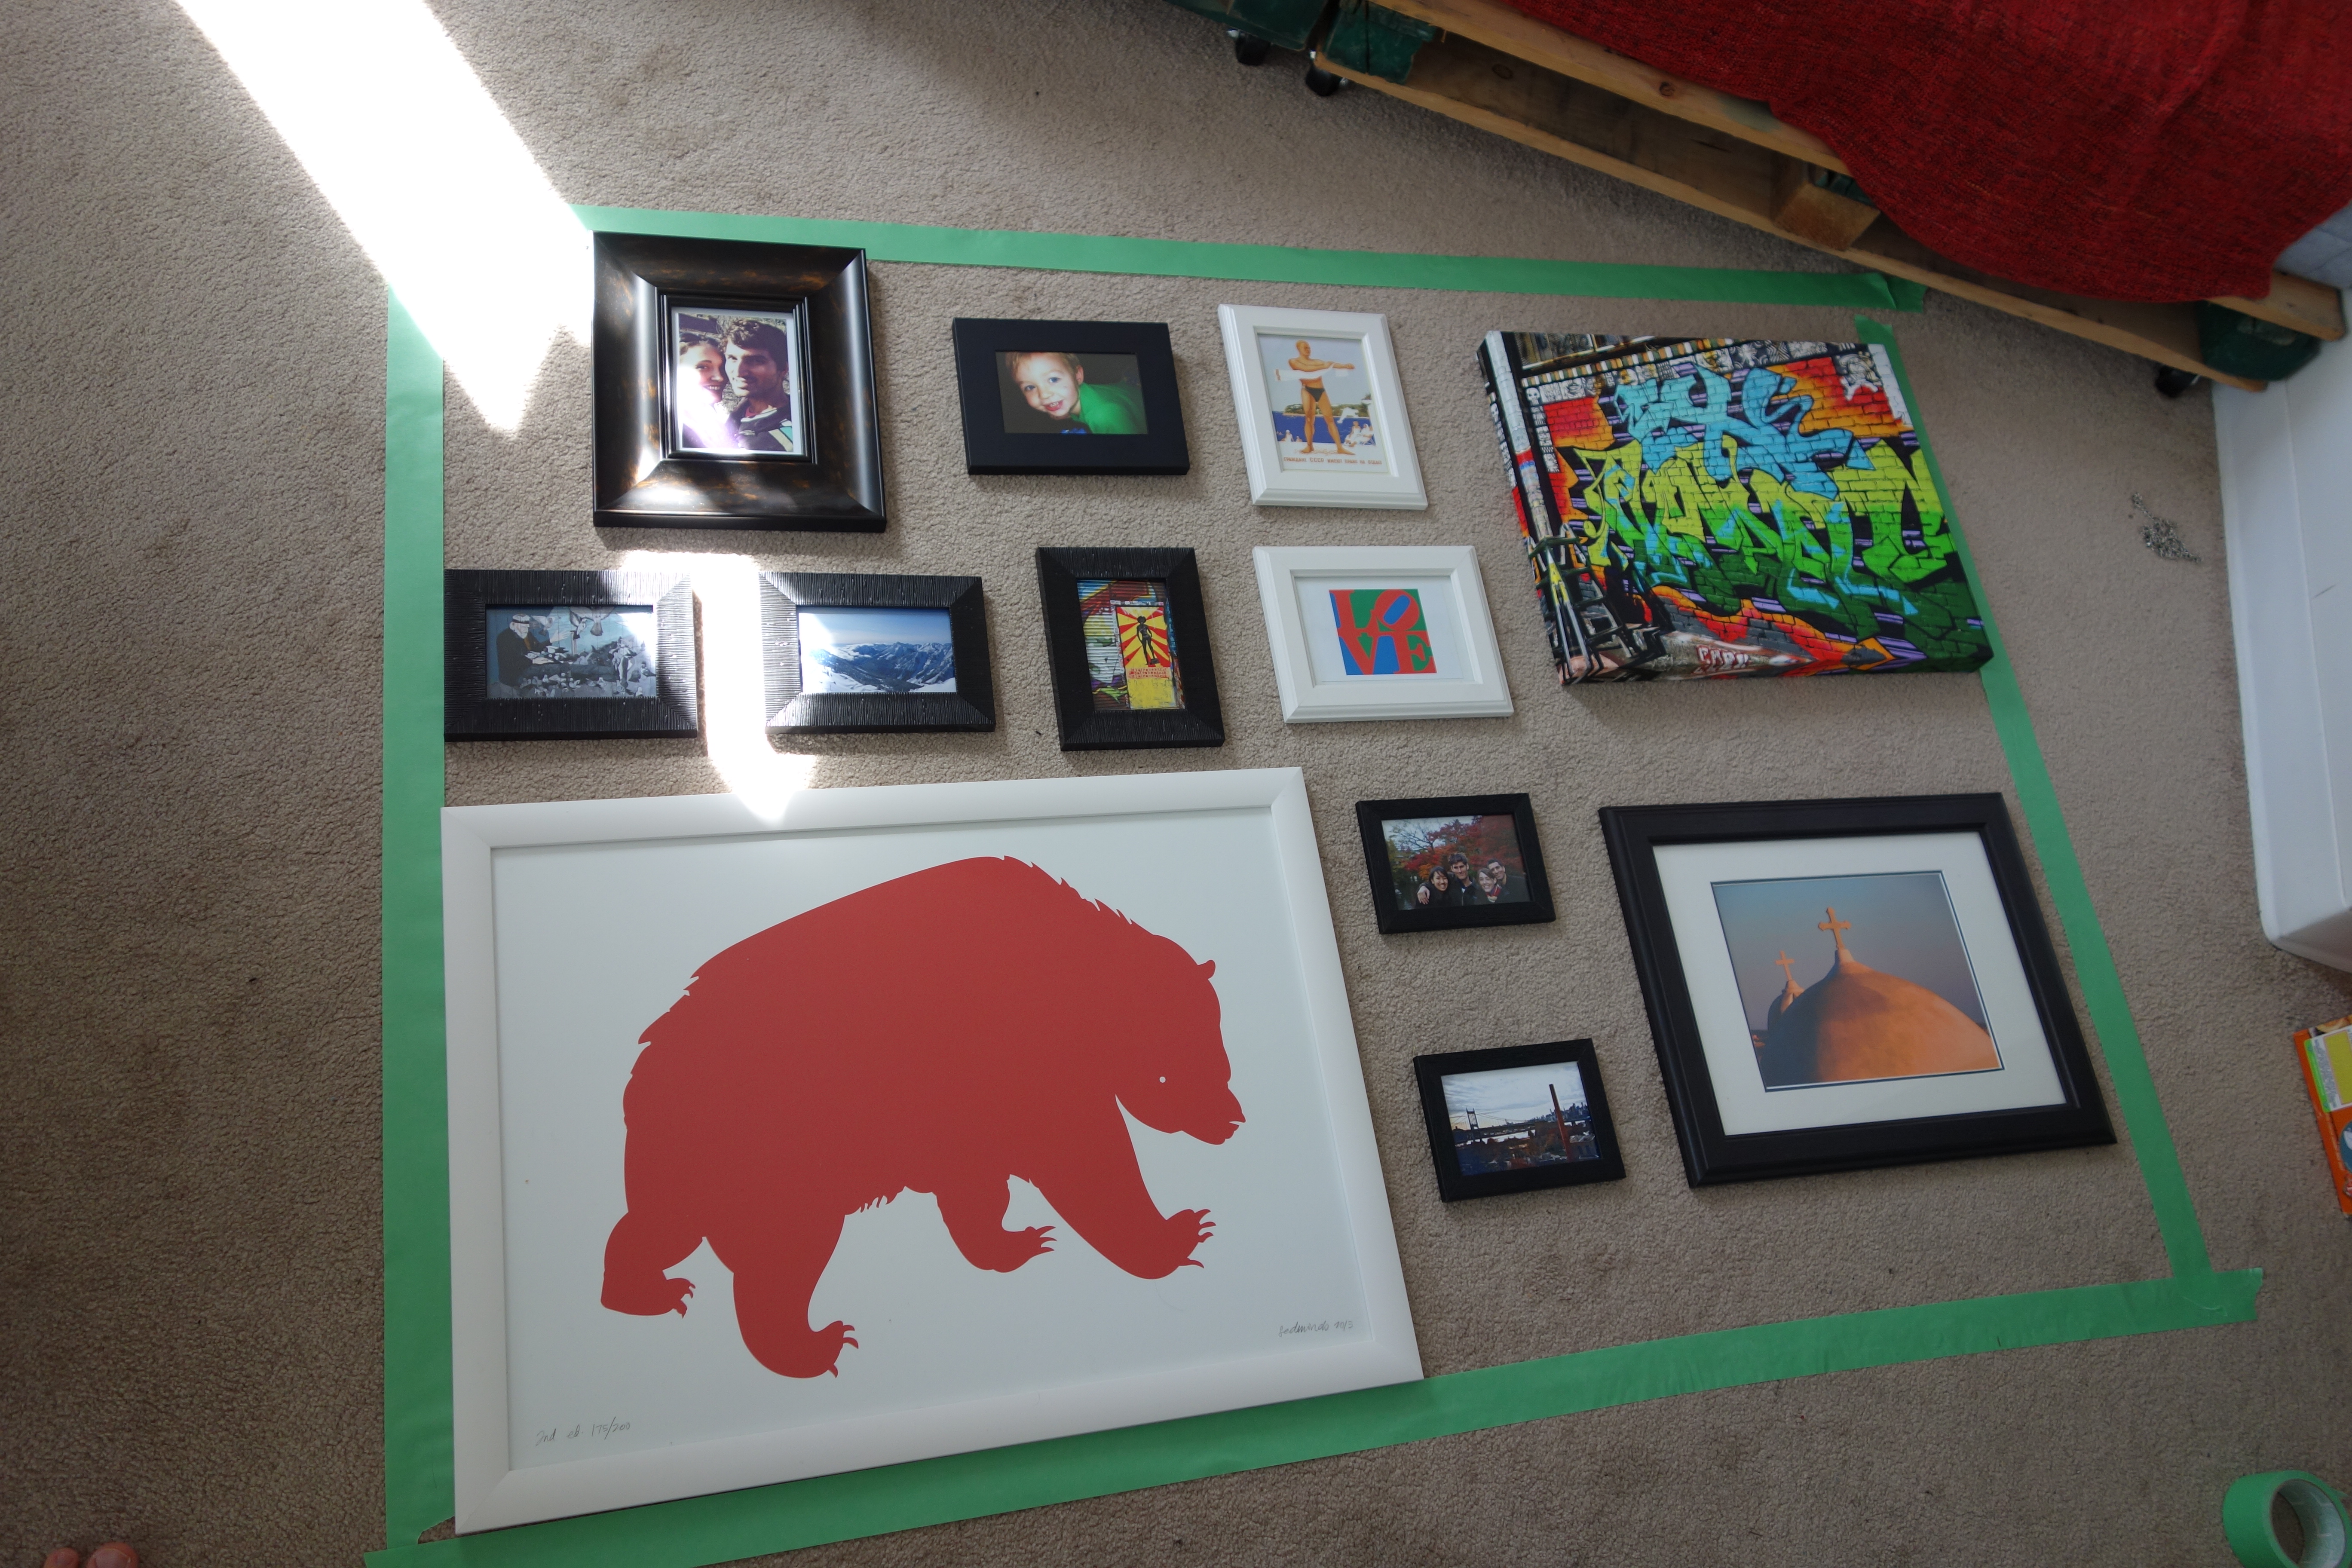
1. Collect your favourite pieces of artwork, postcards, and other items. I found that I didn’t need to look to carefully for colour schemes, as many of my pieces carried similar colour schemes through, but it’s a good idea to focus on a couple of colours if you’re worried about it being too overwhelming.

2. Find frames to fit. Not everything needs to be framed, but using frames can make fairly ordinary photos or even slightly tatty posters look brand new and exciting. I used mis-matching frames for a more eclectic look, but still chose mostly white and brown frames to keep the look fairly consistent.

3. Lay out your framed and unframed pieces on the ground to work out what looks good together. You should ideally measure out the same space on your floor as the wall spot where you intend to hang your gallery. This part should be fun! But for someone as indecisive as I am, it can take awhile to make a decision…
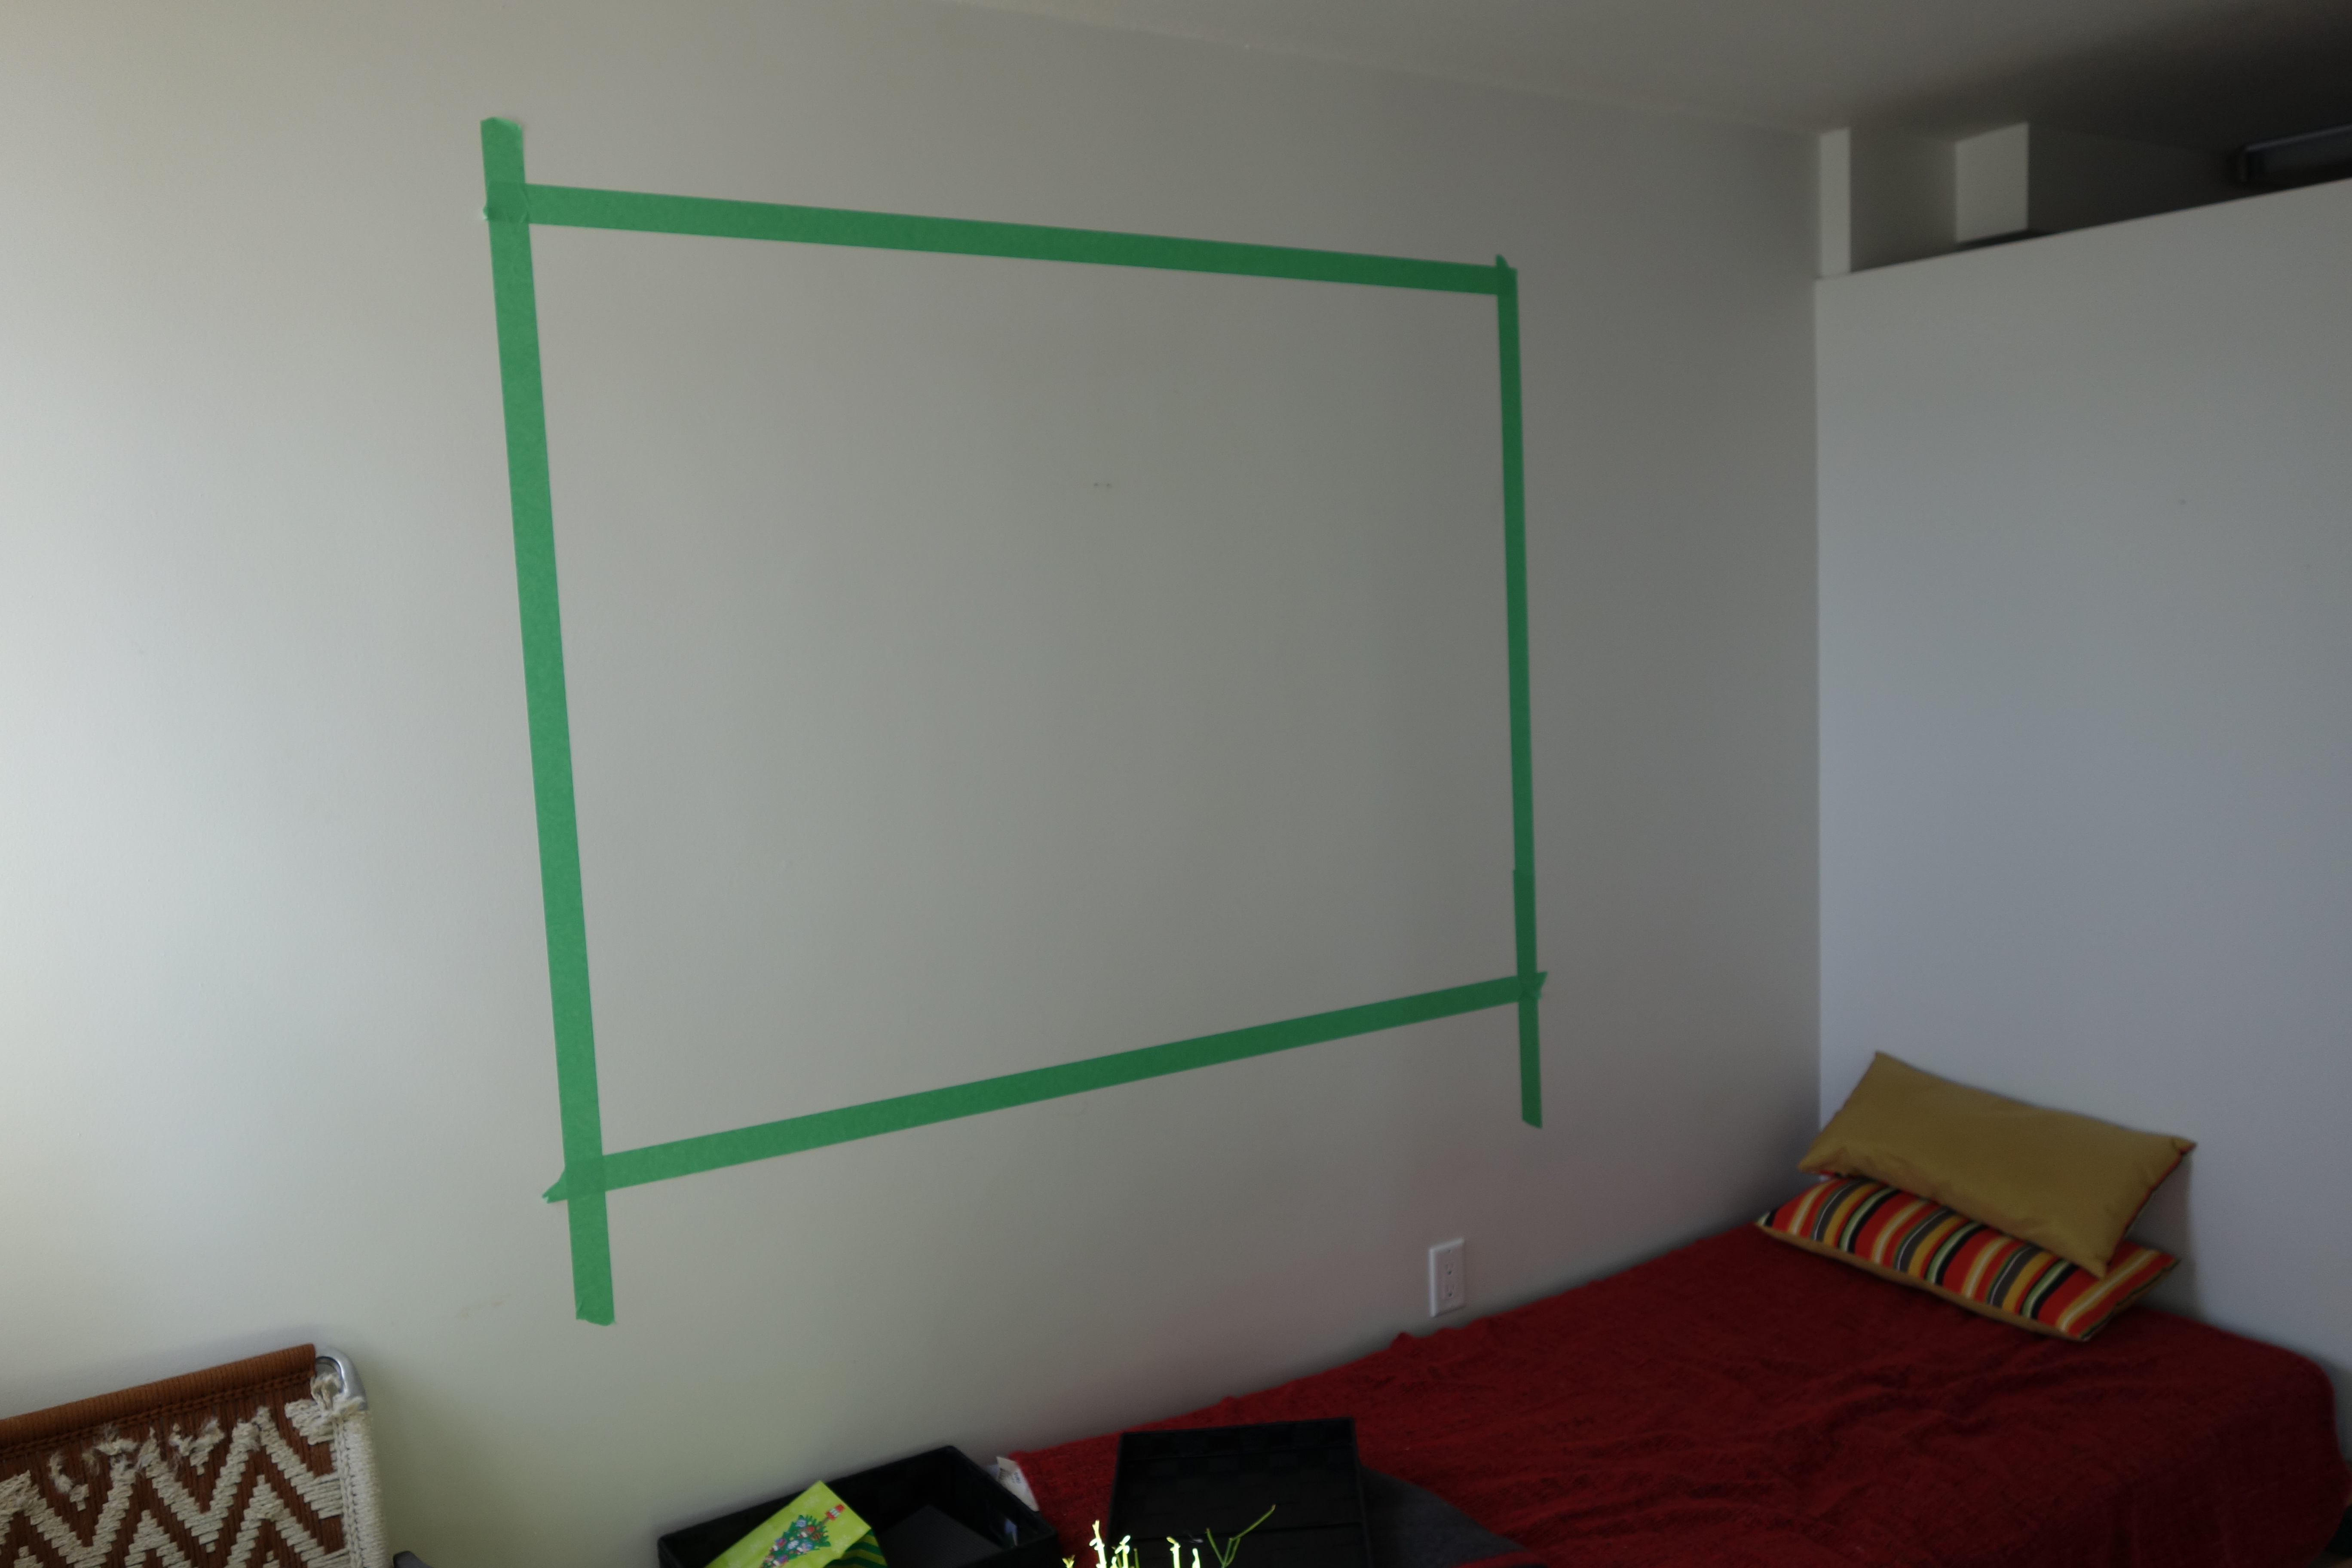
4. Measure and mark out the space (remember, it should be the same as the space you tested on the floor) using masking tape on the wall. You may want to use a pencil and measuring tape (and for the very particular, a spirit level) to test each piece, see where/how low it will hang, and make sure that your configuration generally will fit as you expected in your floor test. Mr Midday Musings took control of this part of the project and used a homemade plumb line to ensure the masking tape hung straight (we didn’t have a spirit level handy), eventually mapping out the border with tape and marking the walls with pencil where the individual pieces would hang.
5. Hammer in your nails and hang! Remove the masking tape once you’re finished and voila — you have successfully filled your blank wall!


And that’s it! You’re done 🙂
I’ve seen other how-to-guides recommend cutting out newspaper to the size of each piece and doing a test run on your wall, but I must admit we didn’t bother with that ourselves!

One thought on “Weekend Project: Creating a Picture Wall”